And turned them into this!
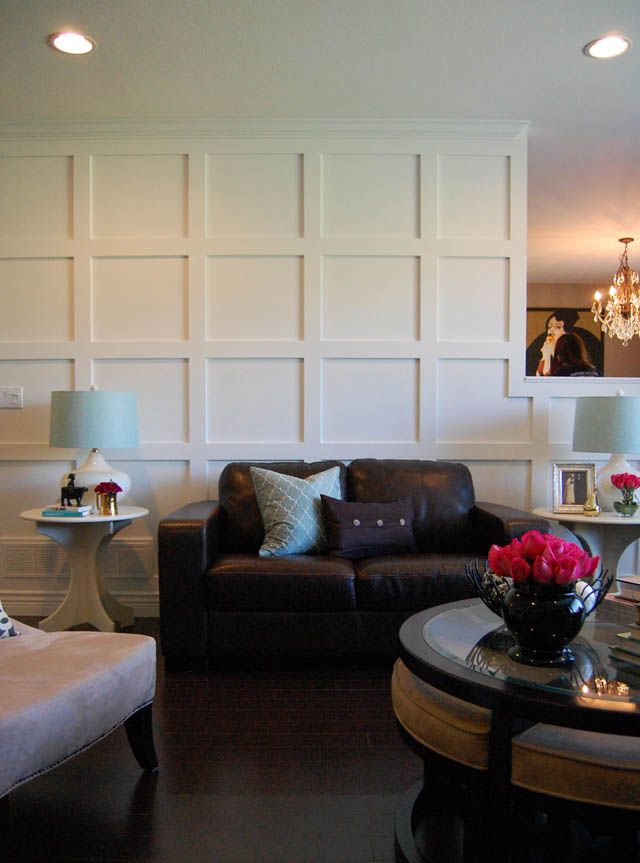
Much more interesting to look at don't you think? Here's how we did it:
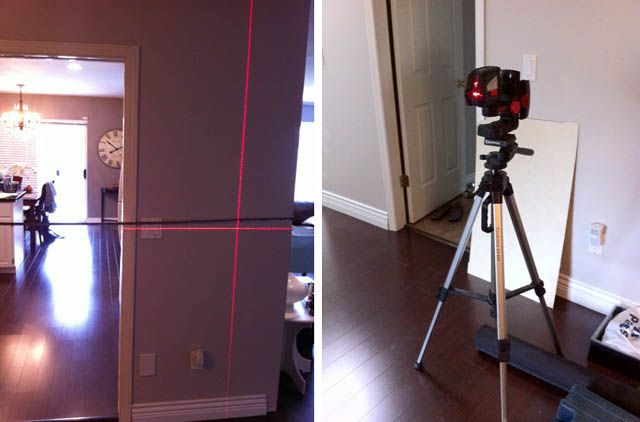
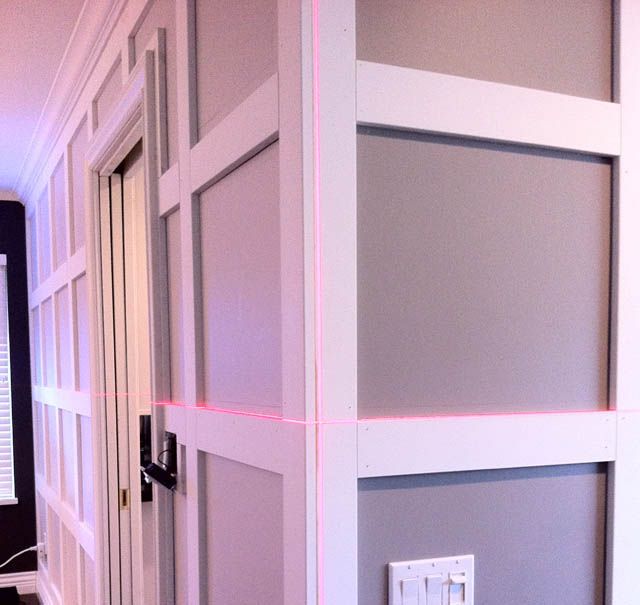
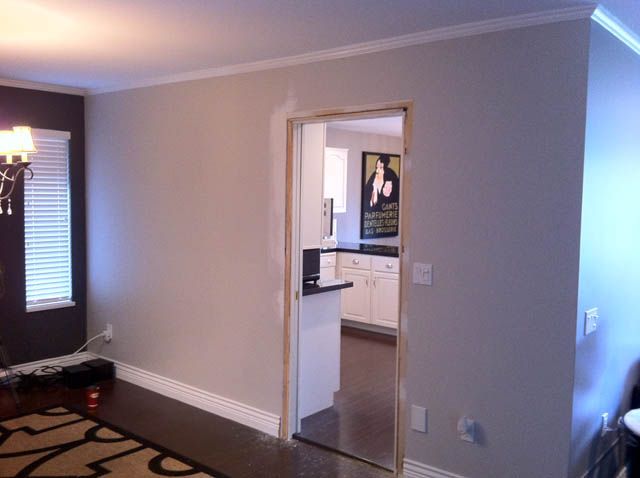
We started by literally drawing the lines onto the walls with a pencil. This way we could measure not once, not twice, but 3 times to be sure, plus we could get a sense of the scale to see if we liked it! This can be done with a large scale level but we were lucky enough to be able to use this nifty laser level {thanks to my cousin Ryan for his laser and perfect measuring skills! I'm sure something like this laser can be rented as well}:
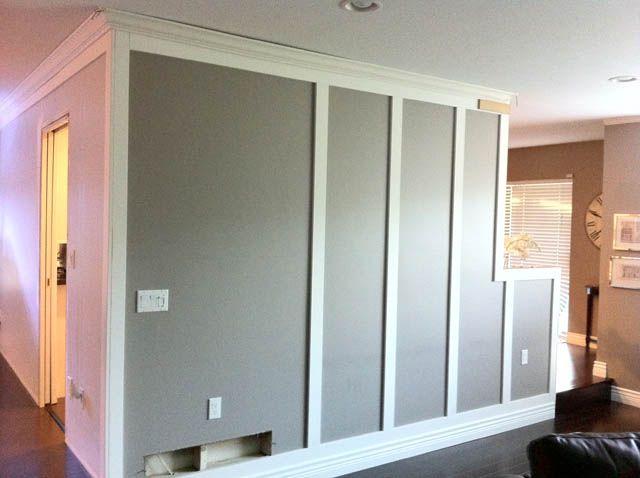
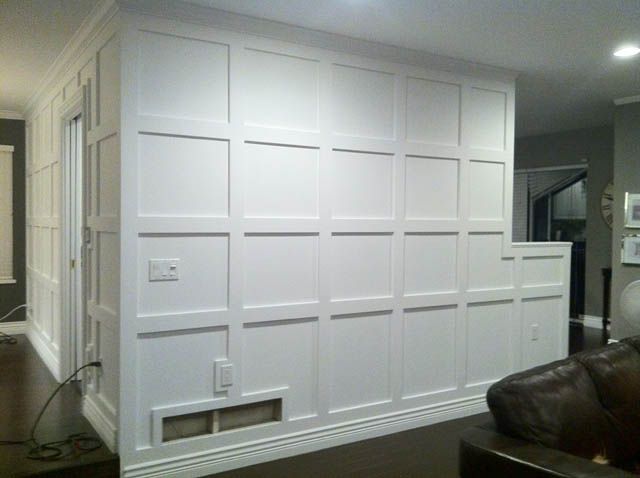
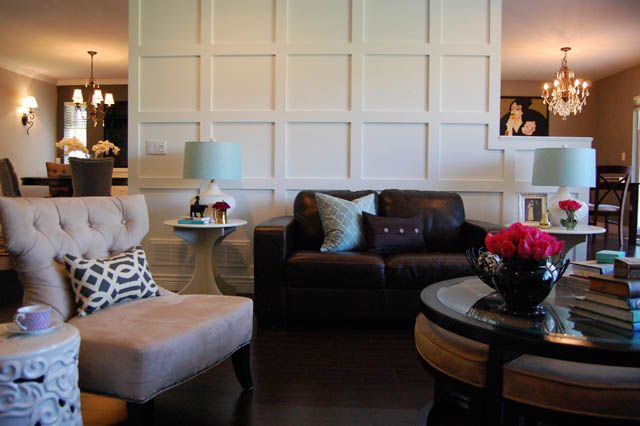
We used inexpensive strips of MDF and began to cut the pieces to create the grid pattern, with the longest stripes running vertically. Here you can see the two adjacent walls in the living and dining room that got this treatment; a nice way to tie the two rooms together!
Phew! The laser double checks our measurements were correct!
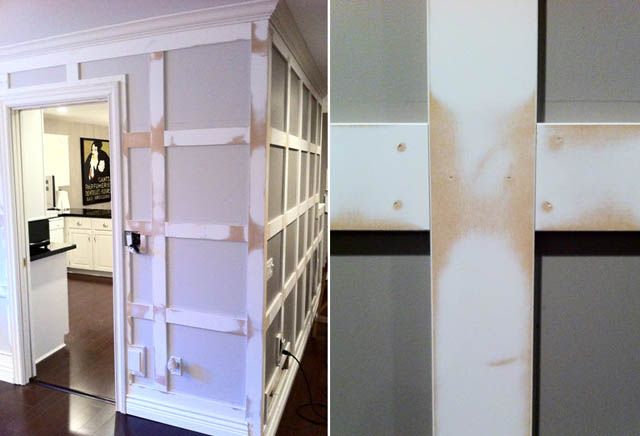
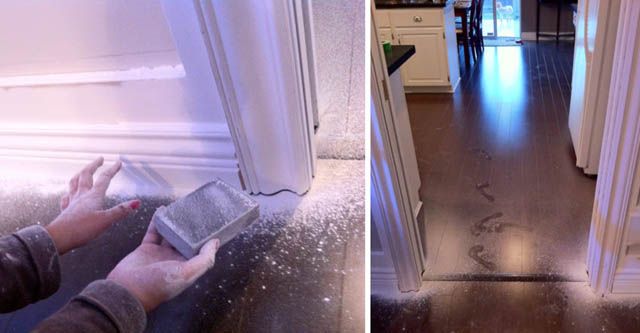
Then it was time to thoroughly sand every nail hole and joint between the MDF strips.
Which created a bit of a snow storm in the house, what a mess!!
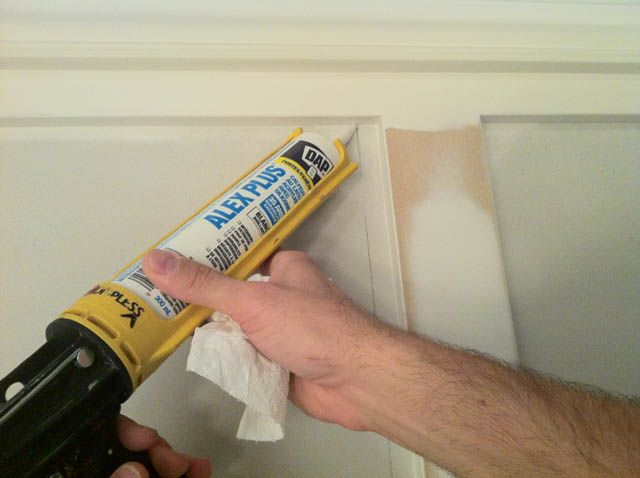
After sanding we filled the nail holes and joints with filler and sanded a second time {painful}. We also caulked around the spaces between the MDF boards and the wall so NO cracks would be visible! Let's just say patience is a virtue.
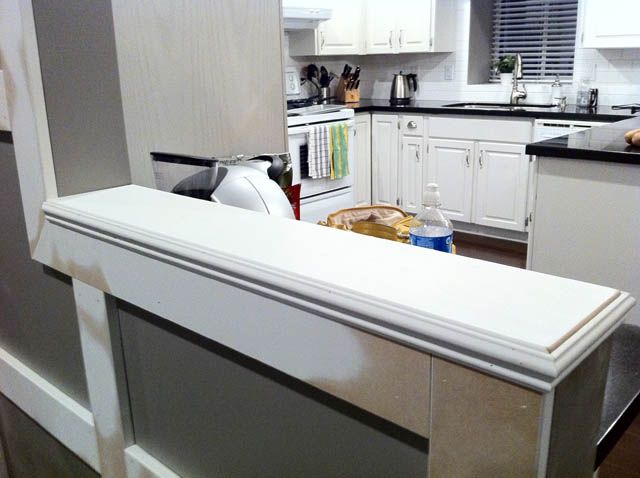
We created a little ledge with extra molding in this cut-out portion of the wall {we cut this part of the wall to open up the space between the kitchen and living room: aka so we could see the TV while eating dinner!}.
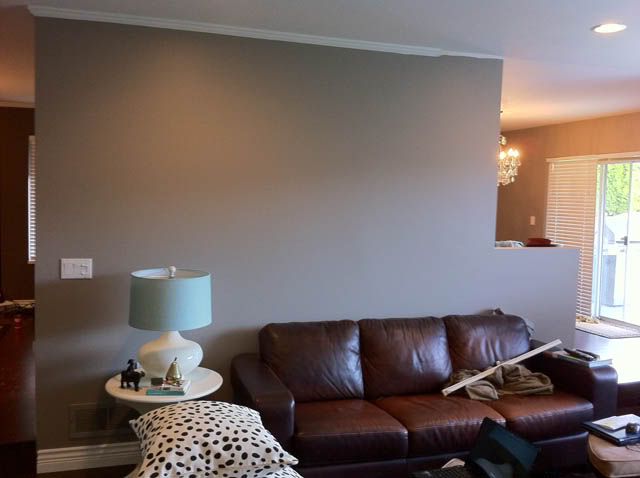
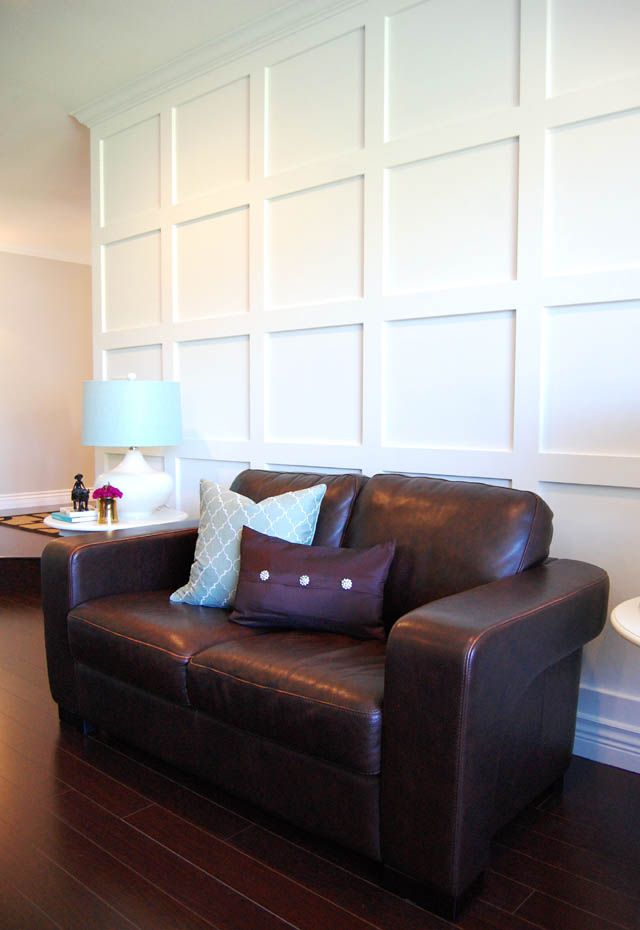
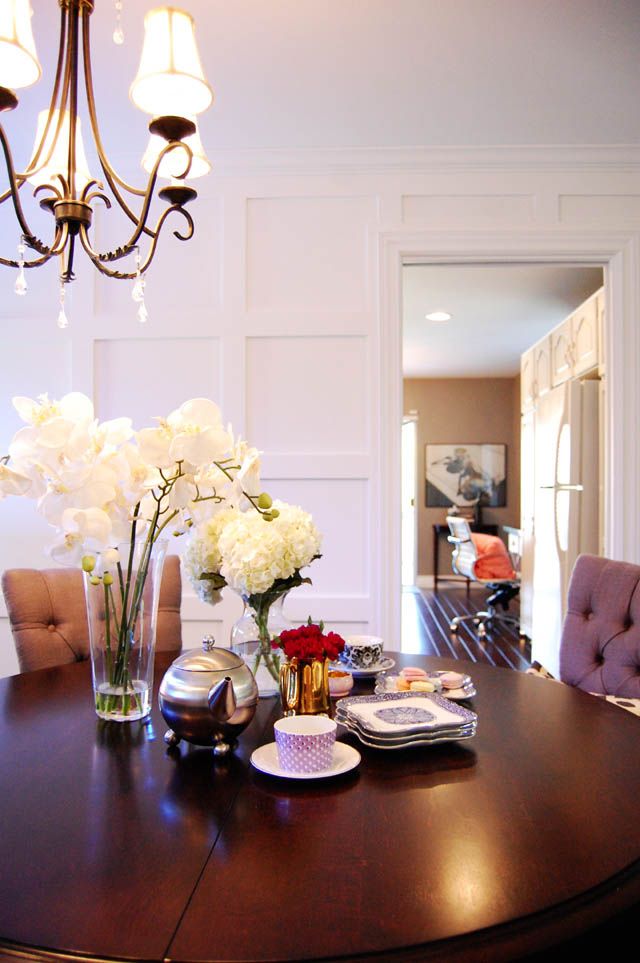
And finally it was time to slather on the paint! We used Benjamin Moore's Chantilly Lace, a nice warm white. So again, the place went from this:
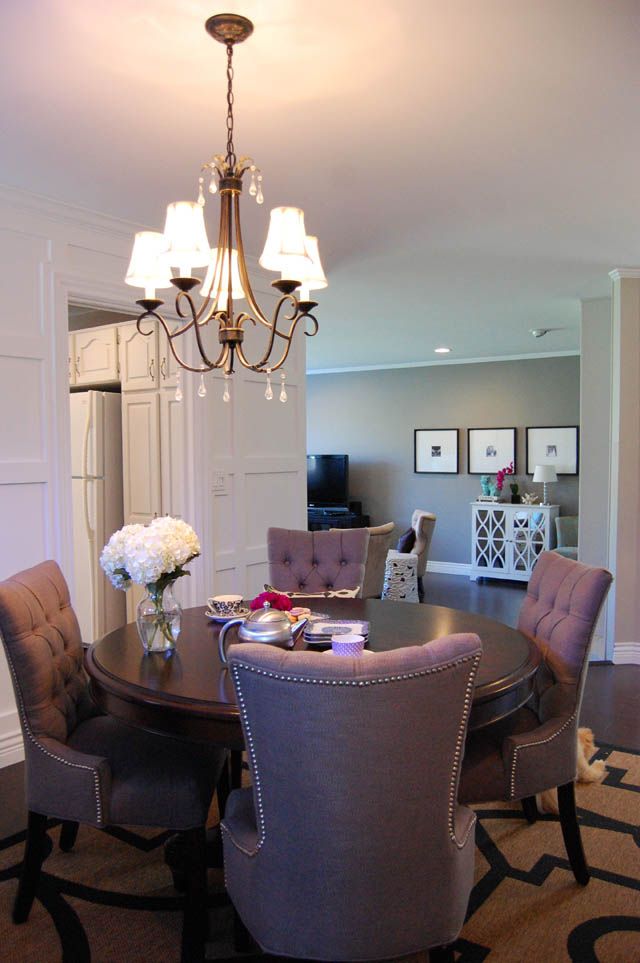
To bright and visually interesting!
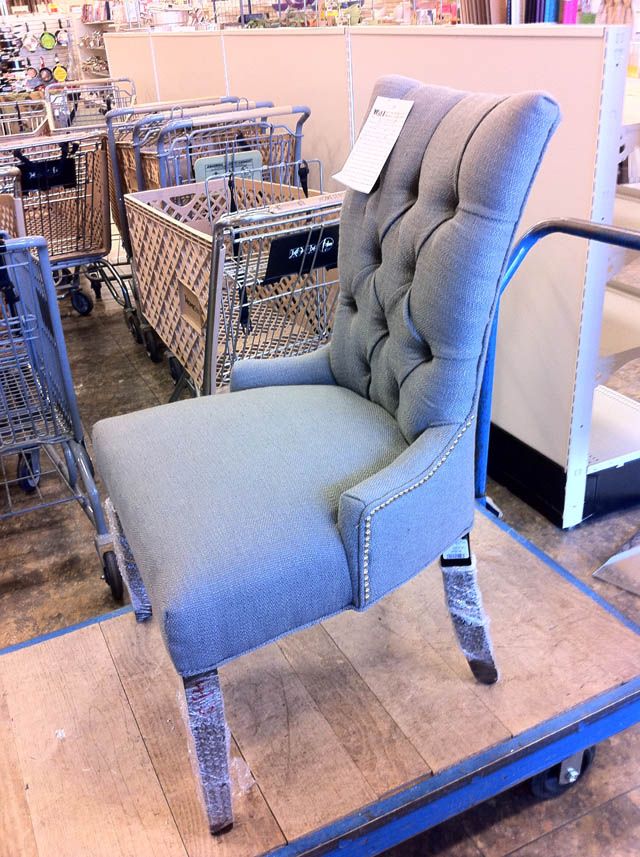
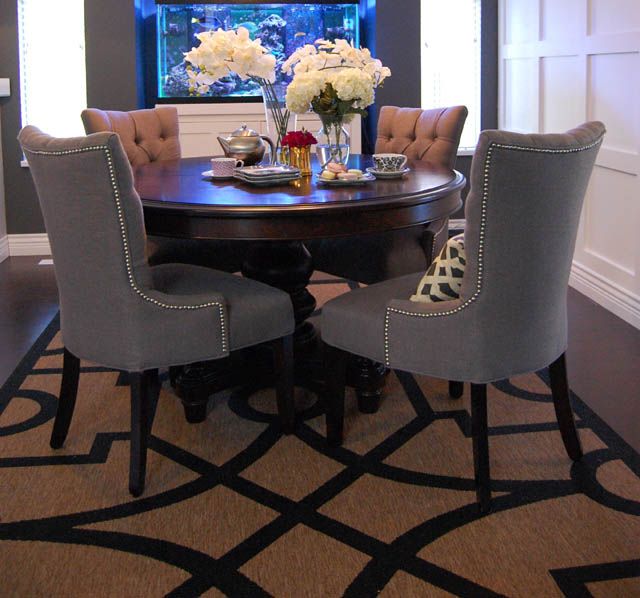
Oh, and did I forget to mention 2 years later I FINALLY got dining room chairs?? Those of you who have been following know that it's been quite a struggle for me, I scored these for $200 a pop at HomeSense.

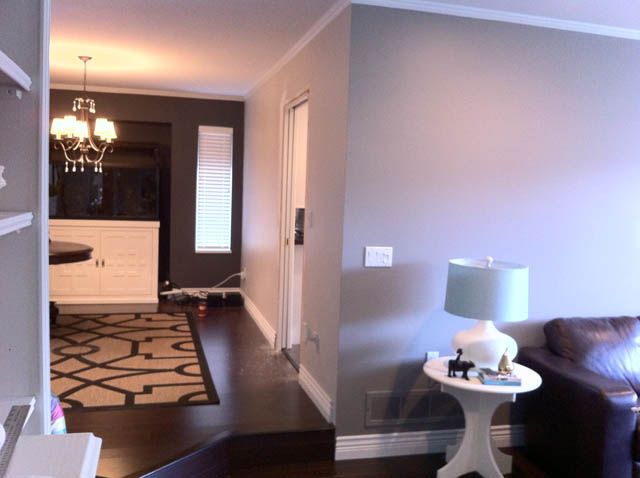
A small recap on how this room looked before we moved in:
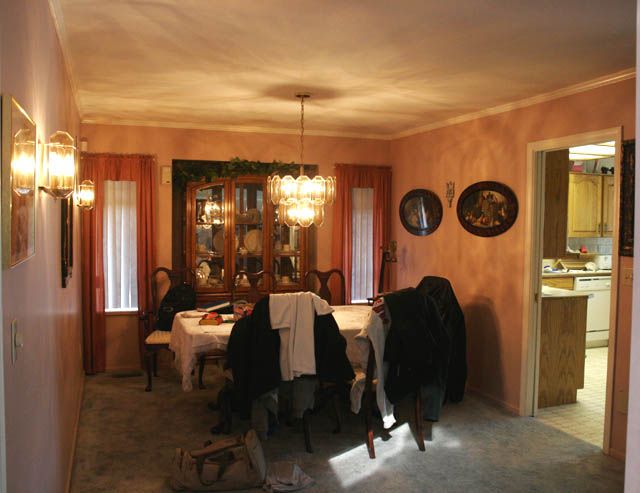
And after:
All in all, I'm really happy with how the project turned out, and panelling like this does not have to be pricey! For the cost of the MDF, a can of paint, a heavy dose of perseverance, and rental of a saw, laser level, and nail gun {unless you already have these tools!} it's possible to add classic and eye-catching architectural details to any space.
Have you got any home DIY projects on the go? I'd love to hear!


0 comments:
Post a Comment