First a HUGE thank you for all of your kind words and encouragement on my IKEA Rast project, I am overwhelmed by your response! And a big welcome to all my latest followers, I am so thrilled to have you here.
Today I thought it would be fun to include a little before & after of our bedroom, mostly because before & afters are just so darn satisfying aren't they?? We were lucky enough to be able to take pictures of all of the rooms before we owned the house {the day we had our home inspection done} so the before pics are that much more disastrous :)

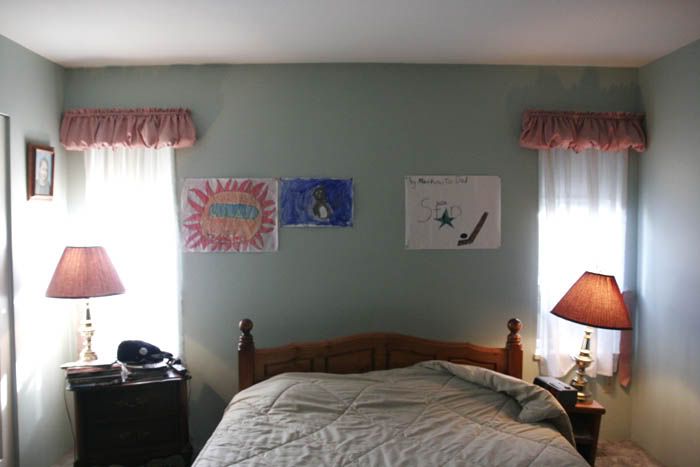
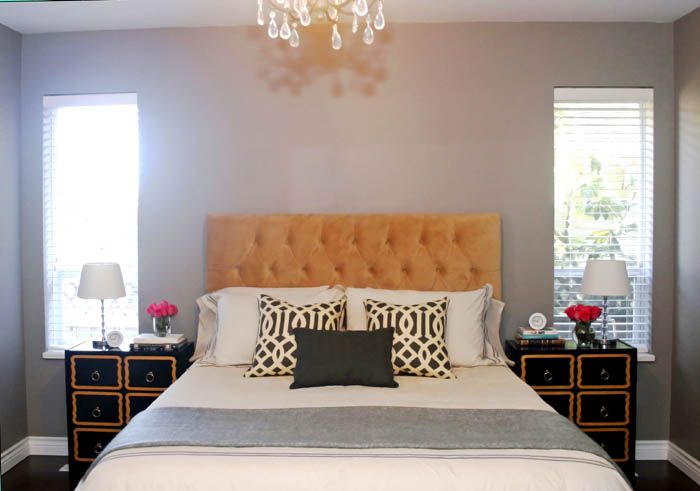

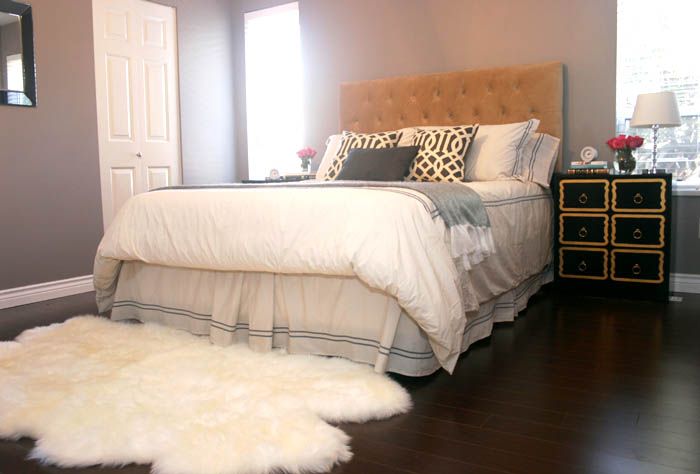
What a difference simply cleaning and painting can make! We got rid of the fuzzy blue carpet, added baseboards, wood blinds, and a chandelier. Can you believe there was NO light fixture in this room? Only lamps controlled by the light switch. Oh the 80's.
And as a follow up to the frequently asked questions you had posted on the DIY project, here's some additional info:
Rast Dresser Primer: I forgot to mention that I used Behr's Premium roll-on primer in white to coat the dressers. I'm sure black would have been better but I couldn't find and oil based black primer! Oil was recommended to me as I planned to use a black lacquer spray and this would help to hide the grain on these untreated pieces and give a smooth finish. I did 2 coats and sanded with a furniture grade {220} sandpaper in between each coat.
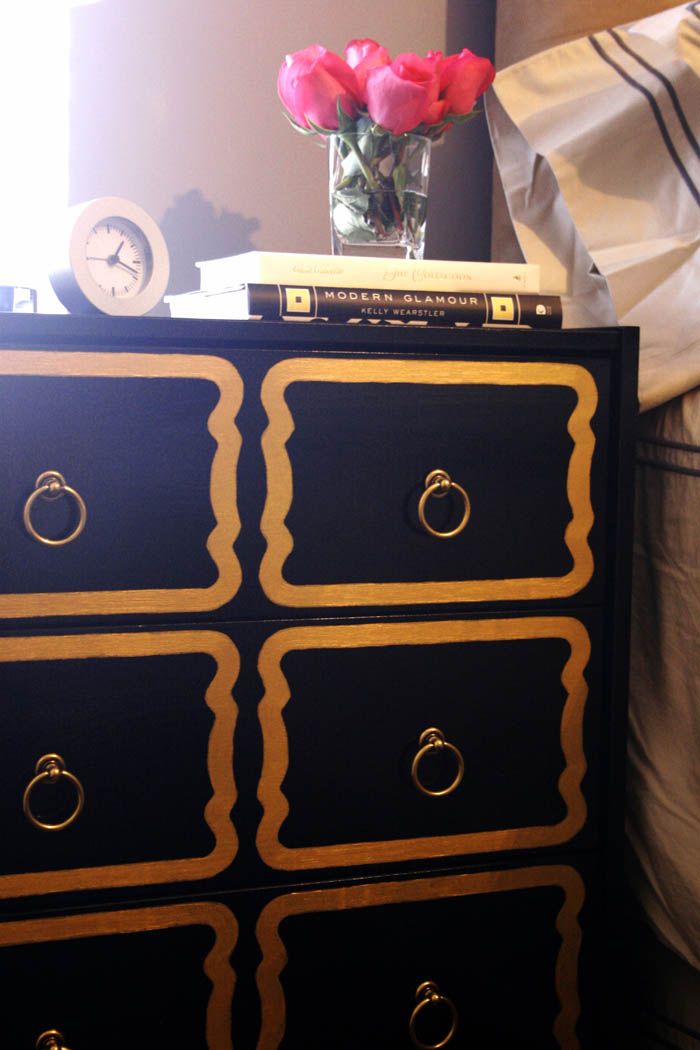
Stencil: I thought images may help with the questions you had about my stencil:
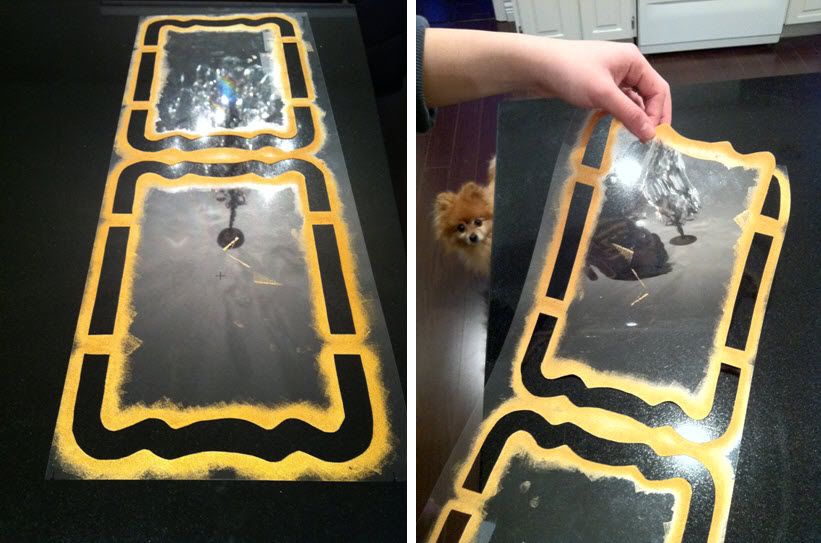
{There's my curious little fur baby ... always seems to make it in the background of pictures ... he's like the Where's Waldo in all our family photos!}
You can see we kept four gaps in the inlay so that the centre of the stencil would stay attached to the outside. If you didn't leave attachments the middle would fall out. More importantly, this means the centre will always be in the exact same spot!
Headboard: This was a very affordable find through Costco online! Believe it or not this piece came in at $339.99 including shipping.
Paint: The walls were painted Benjamin Moore's Escarpment, one of my favorite warm shades of grey.
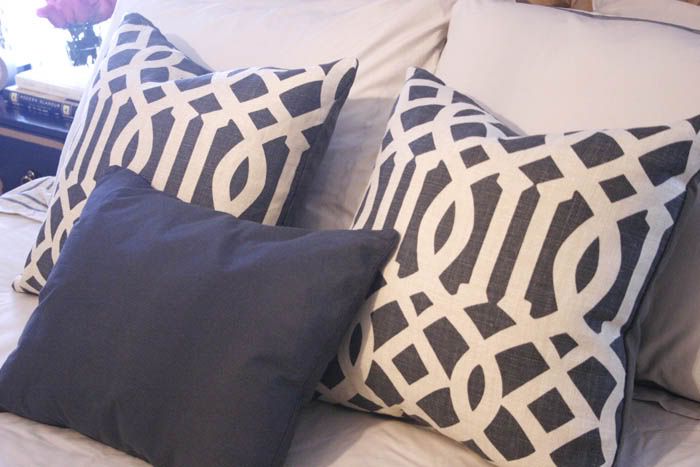
Pillows: The lovely pattern fabric is KWID's Imperial Trellis, and a shout out goes to my fabulous friend Laura for sewing them for me :)
A big thanks to Jenny at Little Green Notebook for posting this project and Kate at Centsational Girl for linking to it on FB :) Also, I'd LOVE to do a post and have anyone that tries this at home submit your own version! Please let me know if you do give it a try, I can only imagine all the variations on this project that could result!


0 comments:
Post a Comment